TABLE OF CONTENTS
- 1. Overview
- 2. Attaching explanations and references
- 3. Editing explanations and references
- 4. Detaching explanations and references

Explanations and references can be used to provide additional information about your evidence. Learn how to add and manage them
1. Overview
You can use both explanations and references to provide additional information about your evidence.
References are simply a way of adding sources of the data in your table.
Explanations serve the purpose of justifying your inputs in the table. Explanations are required when you downgrade the assessment during GRADEing your evidence.
In this article, we will explain how to add both references and explanations.
2. Attaching explanations and references
To add an explanation or a reference to a cell in the GRADEpro evidence table, you can simply click on the cell with the right mouse button, which will prompt the dialogue window for adding explanations/references.
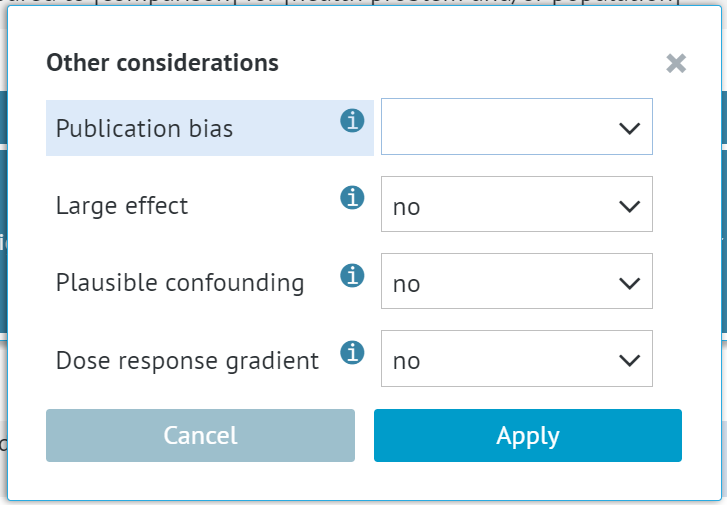
In the case of cells with multiple options and dropdowns, such as Other considerations, you need to enter the cell first and click on a particular option (e.g. a dropdown) to add an explanation or a reference there.
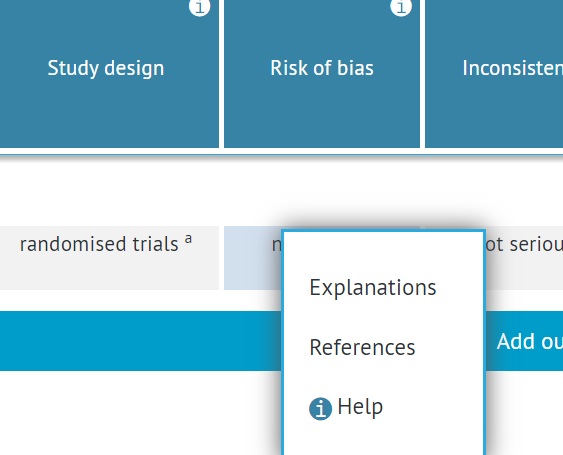
Alternatively, you can use the Explanations option from the top right corner of the website. In order to use it, the cell needs to be active, which is marked by a blue highlight.
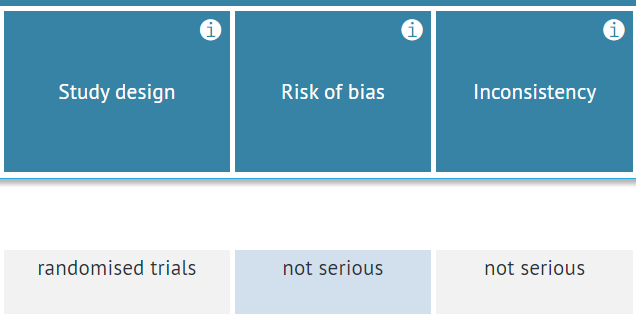
To activate a cell, you need to click on it. This will usually open a dialogue window with the cell options, but you can simply close it.
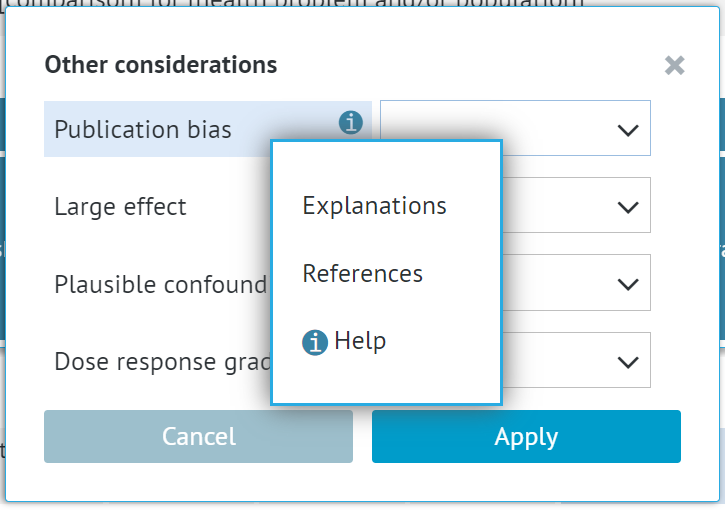
In the case of cells with multiple options and dropdowns, such as Other considerations, you can add explanations/references to the options within the cell. In this case, it is the option (e.g. dropdown) that needs to be highlighted.
Once the cell/option is active, you can use the Explanations option in the top right corner of the website.
 Whether you use the right mouse button or the Explanations option, in the next step, the dialogue window for adding explanations and references will open.

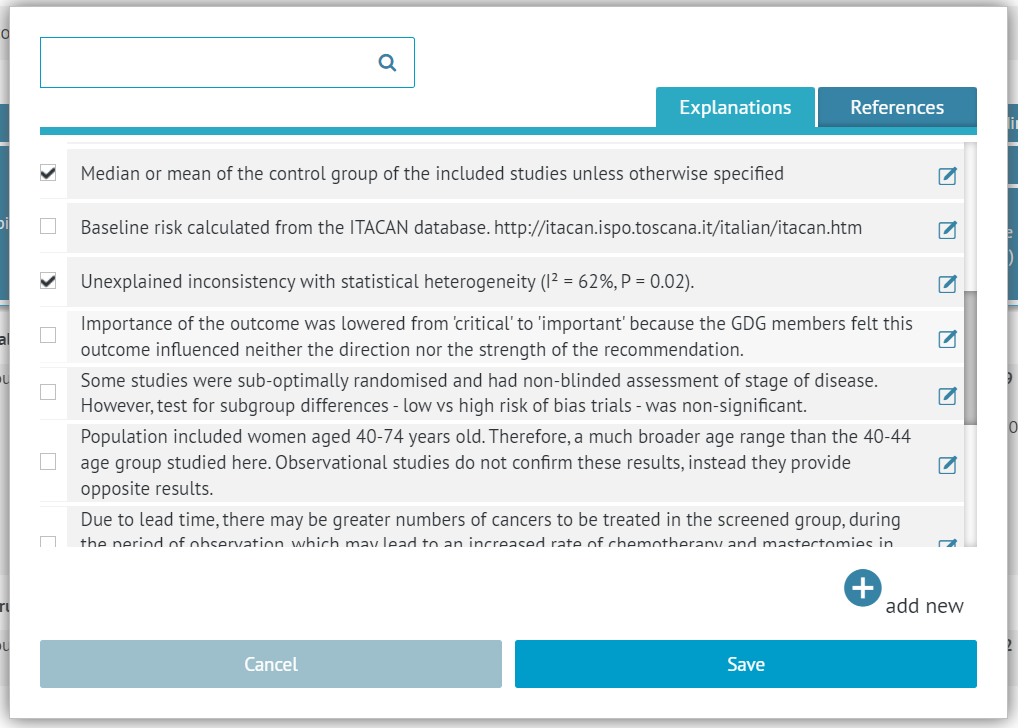
For both the references and explanations, the window is built the same. It has:
- a search bar for finding particular explanations/references in case of a significant number of items
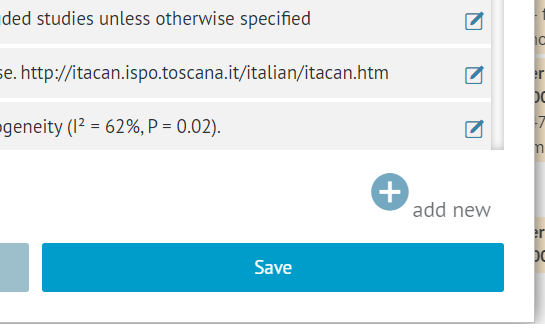
- the list of existing items
- the option to add new items to the list
To add an existing reference or an explanation, you simply need to check an item and click save.
Adding new items to the list is described below.
2.1 Adding a new explanation to the list
To add a new explanation to the list, you need to use the option in the bottom right of the window.
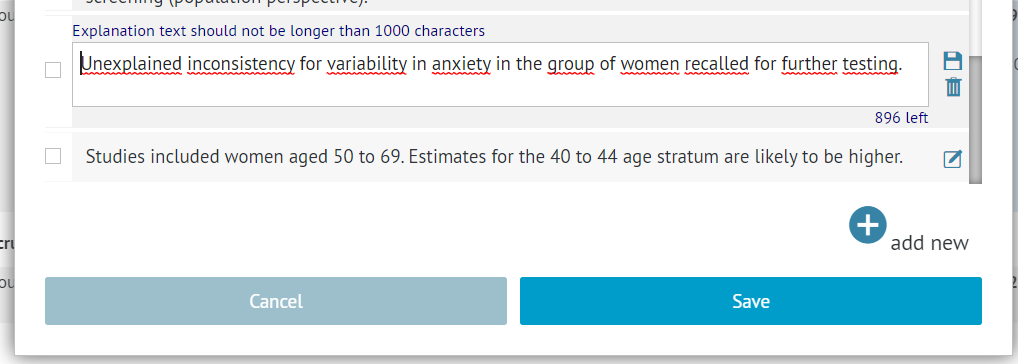
You will see a new text field on the list.
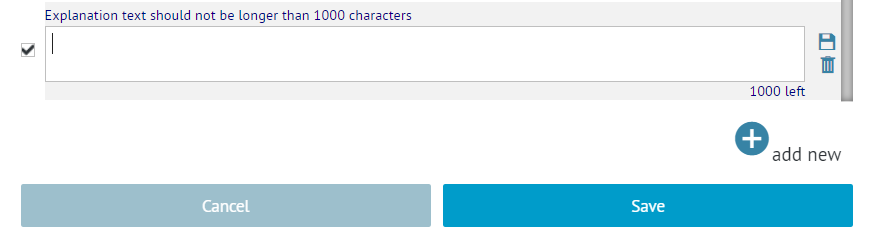
The explanation cannot be longer than 1000 characters. Once you enter the whole text, you can save it with the floppy disc icon on the right-hand side.
The newly added explanation is automatically checked, and it will be added to the cell once you confirm with the Save button.
2.2 Adding a new reference to the list
You can add a new reference to the list in two ways.
It can be done in the dedicated section of the project. There, you can add references manually or import from a file.
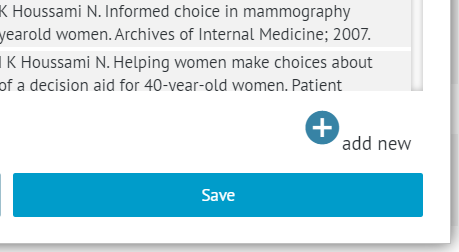
You can also do it manually by using the option in the bottom right of the window.
You will be asked to provide details about the reference.
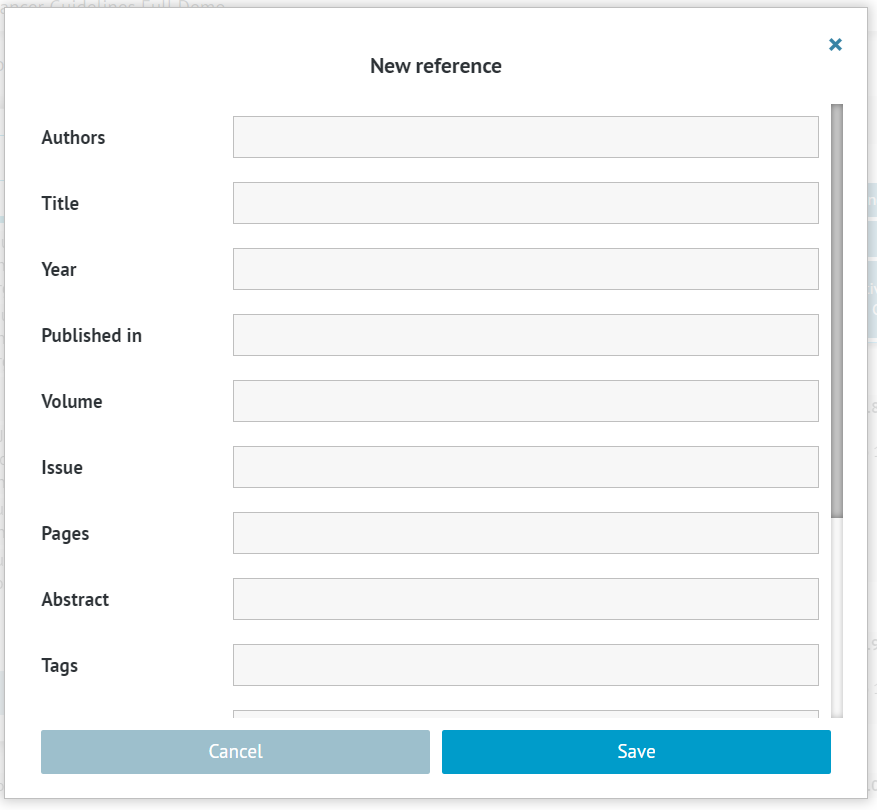
The mandatory details for the reference to be displayed properly are authors (at least one), title, and year. The other details are optional. Once you enter the details you can confirm with the Save button.
The newly added explanation is automatically checked and it will be added to the cell once you confirm with the Save button.
Tips: References added to the list within an evidence table are automatically added to the main reference list and are available in all the questions within the project. To edit or remove a reference you need to do it in the main reference list.3. Editing explanations and references
Restriction: References can only be edited in the references module.If you want to edit an explanation, you need to open the explanations window as shown earlier.

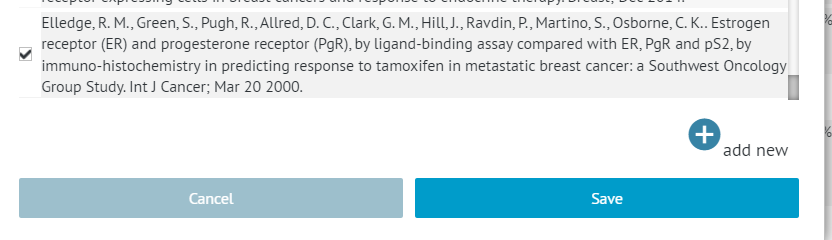
Next to each reference, you will see the edit icon. If you click on it, you will open the edition mode of this reference.

Then it is enough to save with the floppy disc icon and confirm with the Save button.
4. Detaching explanations and references
To detach an explanation or a reference from a cell in the evidence table, you need to open the references and explanations options window for this cell, as described earlier.
To detach an explanation or a reference from a cell, it is enough to unmark the checkbox next to it and confirm your choice with the Save button.
4.1 Removing an explanation or a reference from the list
Restriction: References can only be removed from the list in the references module.To remove an explanation from the explanations list completely, you need to open the explanations window as shown earlier.

Next to each explanation, you will see the edit icon. If you click on it, you will open the edition mode of this explanation.
To remove the explanation from the list, you need to click on the delete (trash can) icon and then confirm with the Save button below.
RELATED ARTICLES
Was this article helpful?
That’s Great!
Thank you for your feedback
Sorry! We couldn't be helpful
Thank you for your feedback
Feedback sent
We appreciate your effort and will try to fix the article